


Trekking
The kit list found at the end of your further information document will detail everything that you need to bring with you on your challenge. The kit list forms part of our safety procedures and items have been specified with your welfare in mind. Anyone failing to carry essential items during the trek may not be permitted to take part. If the kit is marked as ‘Optional’ it is your choice whether you bring it or not, these are suggested items that we feel will be of some benefit to you during the challenge. Here are a few of the really important items on the kit list that you should consider investing in:
Clothing
Socks – always wear good quality socks with your boots. Try on your boots with the socks that you will be wearing on the challenge. One thing to remember is that your socks are just as important as your footwear. If they do not fit correctly they can cause just as much discomfort, even if your boots are well fitted.
If you can, spend money on socks that fit perfectly and also work well in the wet. As with your boots go and ask the experts at your local outdoor shop as there are many different types available.
Socks made out of wool or any other natural material are ideal as they are great for drawing moisture away from the skin and are quick drying and therefore less likely to give you blisters. Make sure that they fit you nice and snug and pay particular attention to the areas around the heel and toes. Also, ensure that they don’t slip down whilst you are walking.
One golden rule… you can never have too many pairs of socks. Dirty socks have less cushioning and can cause friction. Changing your socks regularly can really help so take more than you think that you will need.
When walking, it’s always best to adopt a layering system to your clothing. This ensures that you can adapt quickly to the weather and changes to your body temperature.
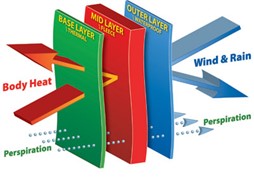
Base Layer – this layer will draw moisture away from the skin. Cotton should be avoided as it holds moisture, takes a long time to dry and can make you cold. Synthetic fibres, such as polypropylene and polyester work the best. Your base layer should be relatively close fitting but still comfortable.
Mid Layer/Insulating Layer – this layer is to help keep you warm, it does this by trapping air between the fibres. Fleece is great at doing this and makes an ideal breathable layer. Some mid layers come with a wind blocking membrane so you can keep the wind out without the need to put an outer waterproof layer on.
Outer Layer – this layer should be a waterproof, breathable jacket with taped seams.

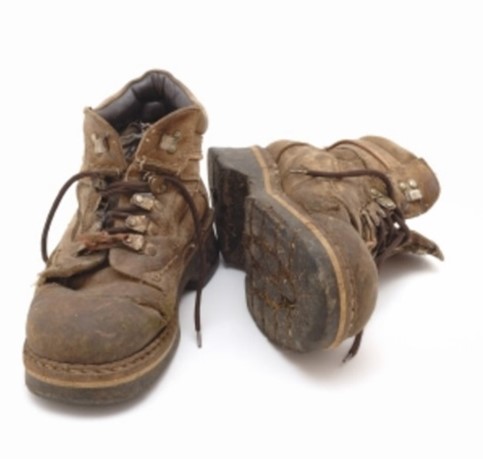
Walking Boots
Your feet are going to be your best friends from now on, so please keep them happy! Your walking boots need to be comfortable and specifically designed for walking. Reasonably high ankle supports on your boots are desirable and a stiff heel counter to give you lateral support is also recommended. It’s always worth investing in a good pair of walking boots and also appropriate socks.
Your feet naturally swell during the day, so it’s advisable to try boots on for size towards the end of the day. This will ensure they will fit when your feet are at their largest. Go and ask the experts too. Your high street will have many outdoor shops where the staff are specifically trained to help you. Try to find a shop that can accurately measure the length and width of your feet, as this will ensure the best fit.
To break in your footwear, start by wearing them for an hour or so every day; wear them around the house to do your cleaning or wear them to go shopping. Fit wearing them into your lifestyle, you may not look fashionable, but it will make such a difference when wearing them on the challenge.
Gradually increase the time that you wear your boots. Once you start wearing them comfortably for a number of hours over consecutive days, you should be ready to start using them for long distance walking.
Equipment
Walking Poles – can be very useful as they distribute the weight between your arms and legs. They are particularly helpful when walking long distances as they can reduce the strain on your legs which means you can keep going for that little bit longer. They are also great for extra support when walking up or down steep sections. It’s entirely up to you if you want to use them, just remember to use them in your training if you intend to use them on the challenge.
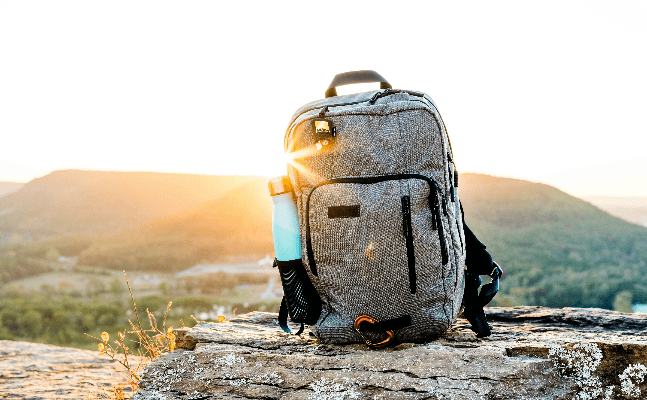
Backpack/Rucksack – you will definitely need a backpack to carry essential items such as extra layers, snacks, camera and personal first aid kit. Getting the fit of your backpack/rucksack right is crucial to ensure that you are comfortable and that the weight is distributed across the shoulders and back. It is a good idea to have a backpack/rucksack that has a waist and chest strap as this keeps it secure and it’s less likely to cause chafing. Your high street will have many outdoor shops where the staff are specifically trained to help you get the correct size and fit.
Cycling
The kit list found at the end of your further information document will detail everything that you need to bring with you on your challenge. The kit list forms part of our safety procedures and items have been specified with your welfare in mind. Anyone failing to carry essential items during the trek may not be permitted to take part. If the kit is marked as ‘Optional’ it is your choice whether you bring it or not, these are suggested items that we feel will be of some benefit to you during the challenge. Here are a few of the really important items on the kit list that you should consider investing in:
Clothing
Base layer – There is no need for a base layer on our Costa Rica Coast to Coast cycle. Your lightweight cycle jersey will act as a base layer.
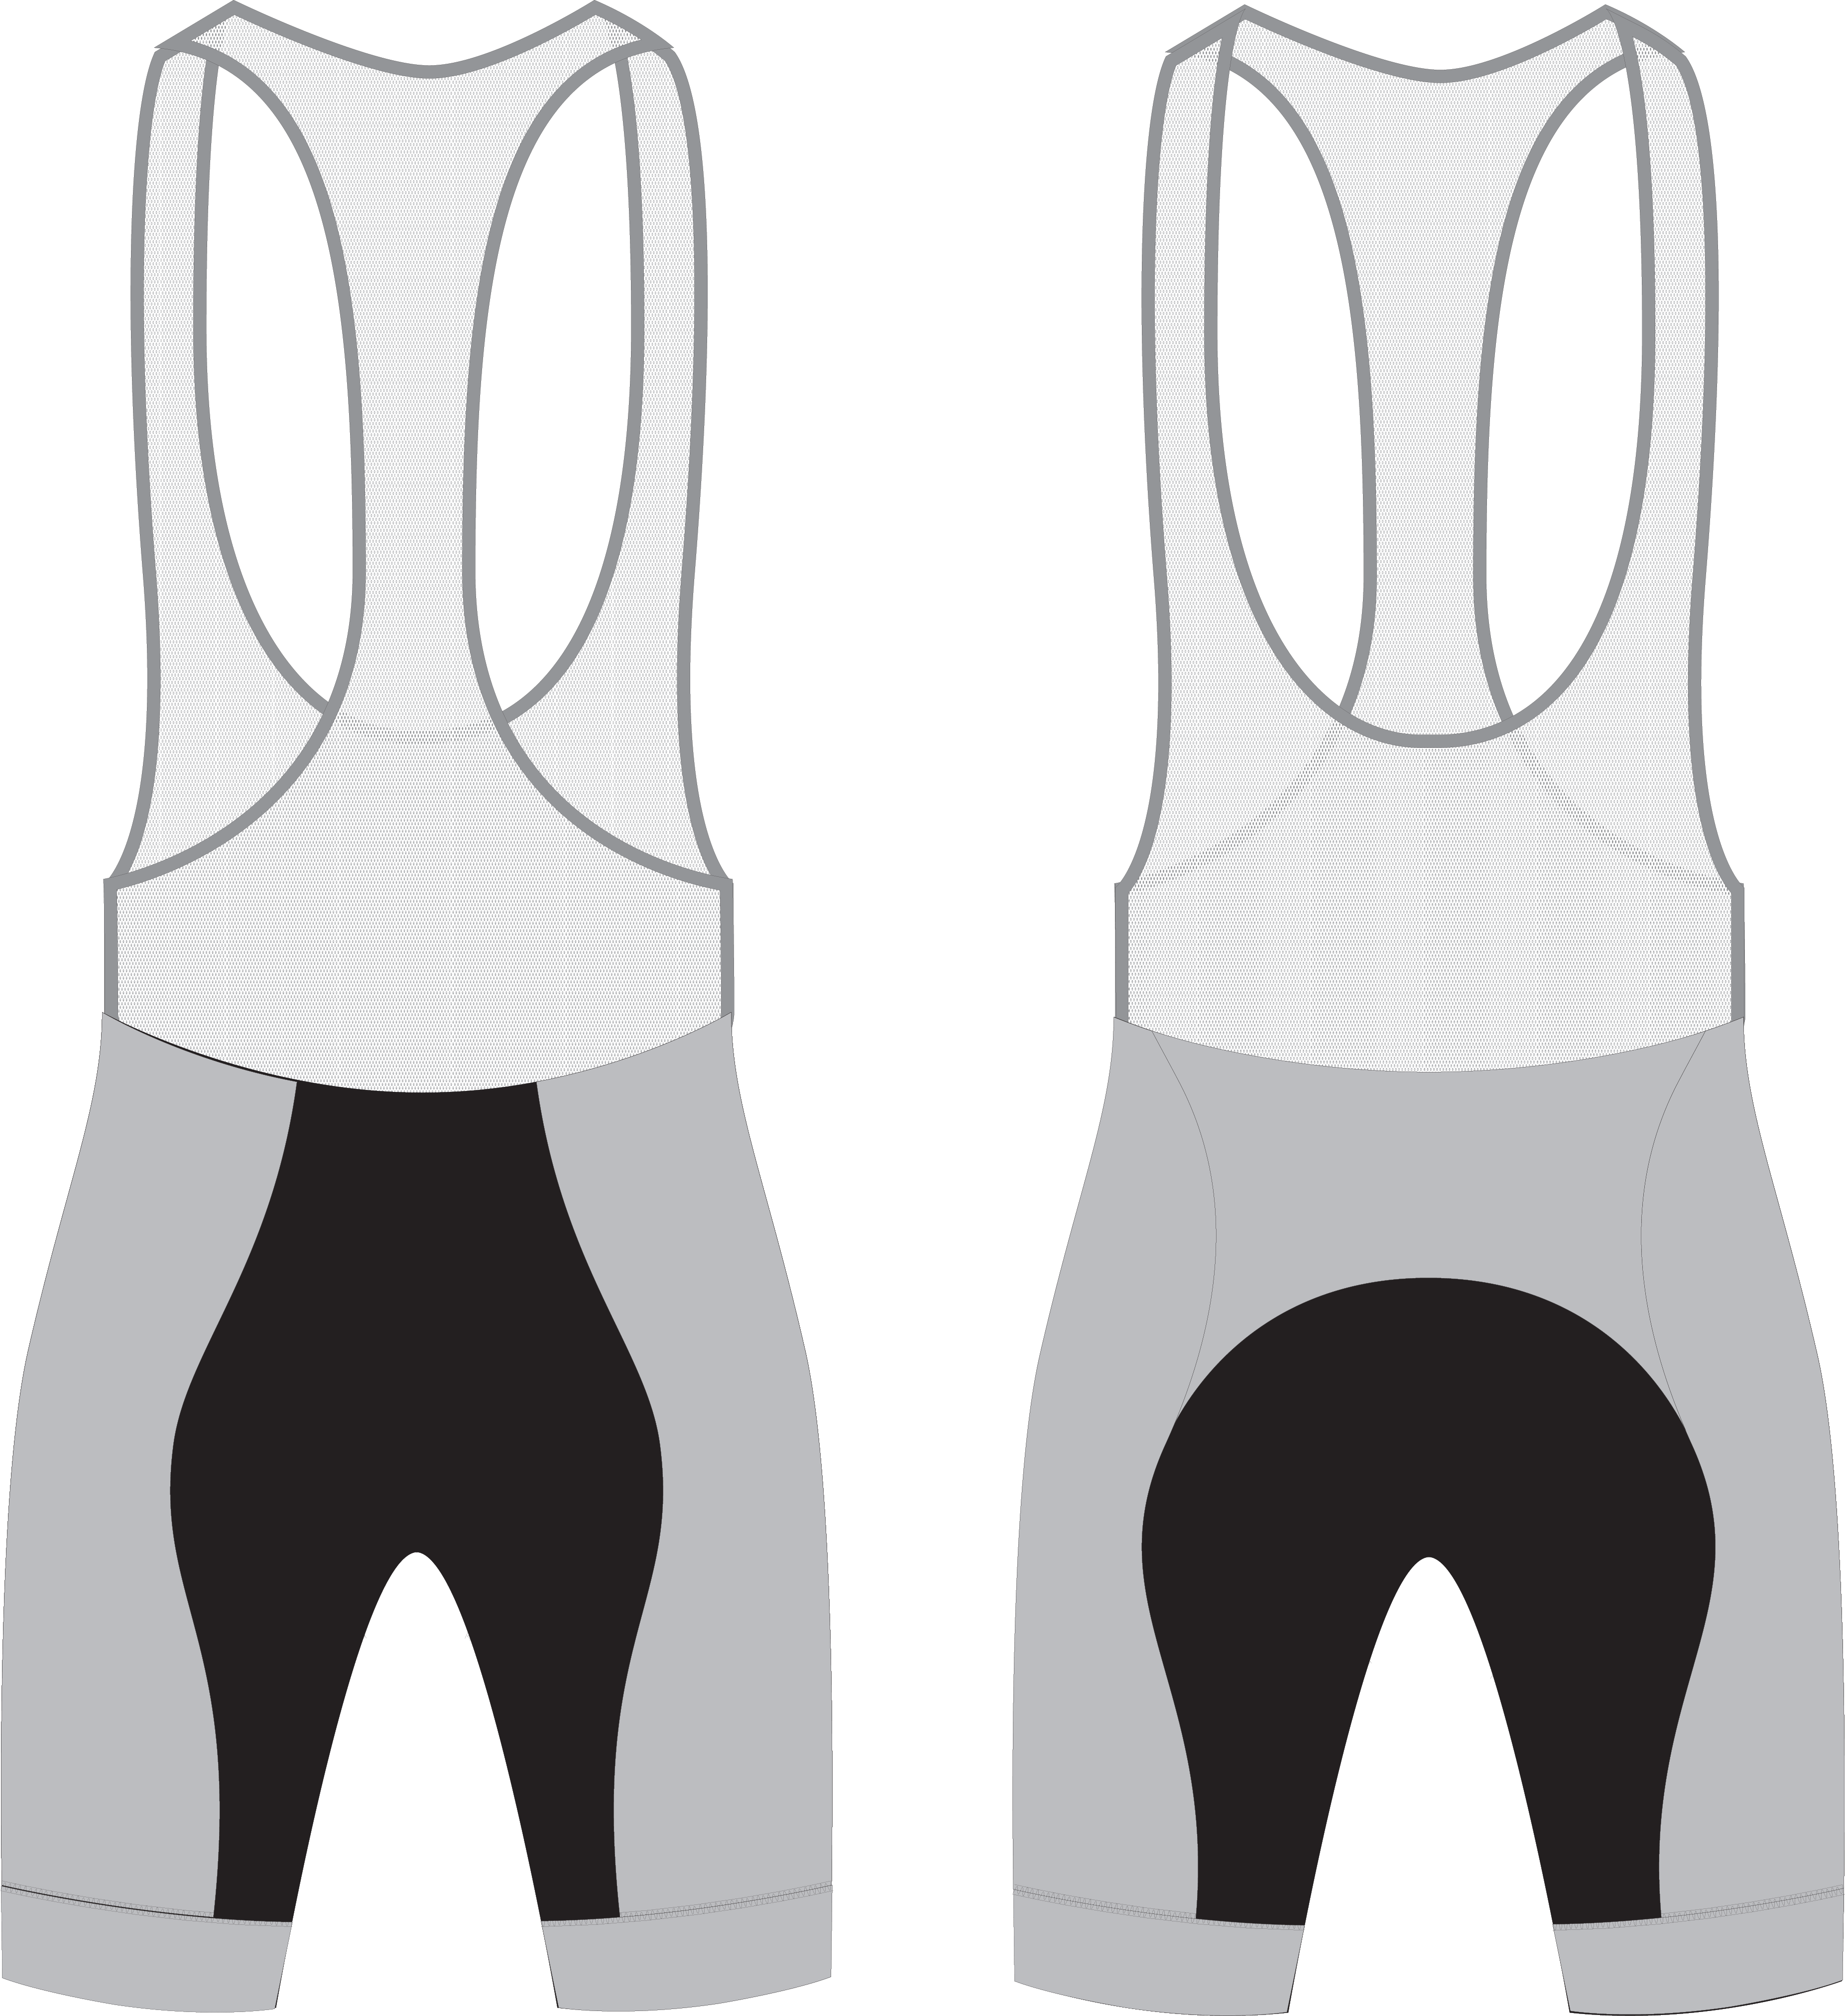
Bib shorts - We would recommend bib shorts. The waistband of regular cycling shorts can dig in, whereas bib shorts forego the waistband by using shoulder straps to keep the shorts up and in place which is more comfortable and more supportive when cycling. Comfortable bib shorts are essential as you will be spending a long time in the saddle. So along with fit, the chamois (the vast majority are now synthetic) is the essential ingredient to happy cycling. One rider’s armchair is another’s bed of nails but there’s plenty of choice to find a pad insert that works for you. Look for a pad which has anti-bacterial properties, is breathable (often with channels or perforations to draw sweat away) and has a multi-density construction (placing more foam padding where it’s needed). As shorts are the only padding between your bum cheeks, the saddle and the road, it’s worth investing in a good pair of shorts.
It is recommended not to wear underwear with cycle shorts. Cycle short designers put a lot of research into designing shorts to be as comfortable as possible. Therefore, wearing underwear can cause chafing between the pad and your skin. Long consecutive days of cycling could still cause you some discomfort so apply a saddle cream from day 1 of your challenge. There are lots of different brands out there - ‘Assos chamois cream’, ‘Udderly Smooth’ or even ‘Metanium’ or ‘Bepanthen’ nappy rash cream will help.
Our recommendation regarding saddle sore cream is to use it daily, start before you think you need it on day 1.
Short sleeved jerseys - A lightweight, technical short sleeve jersey is important in hot weather to move moisture away from your body, keeping you dry on hot days rather than drenched in sweat. Man-made, synthetic fabrics come into their own in hot humid weather. Fit is personal but look for a jersey which sits close to the skin and is therefore more aerodynamic while allowing the technical fabric to do its job.
Due to the climate in Costa Rica it can be very difficult to get cycling kit and clothes dry overnight, so space permitting we would recommend you bring as many spares cycling clothes as possible (ideally a minimum of four sets).
We would recommend you pack one full cycle kit in your hand luggage just in case your main luggage goes missing. It will probably fold inside your helmet.
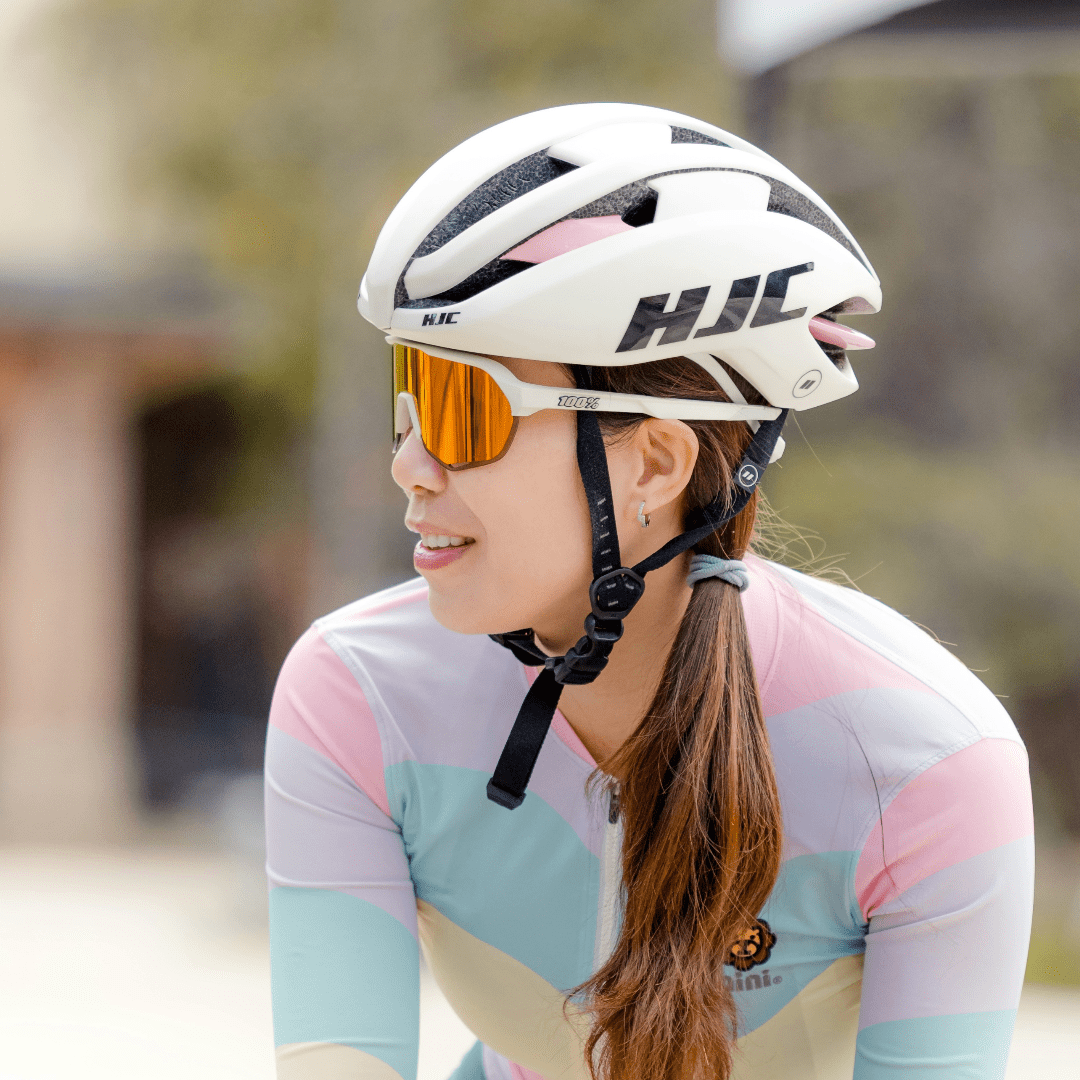
Helmet
Your helmet can be a life saver, so make sure it fits properly. Low, level and snug, that's how your helmet should sit on your head. Below are a few tips on how to get a perfect fit.
Your helmet should sit level on your head and the front of the helmet should cover most of your forehead. If the helmet tilts back and exposes your forehead, it's not going to protect you. Connect the chin strap and tighten it so that it's snug beneath your chin, you should not be able to pull the chinstrap forward over your chin when fastened. Adjust the side straps so that the point of the V sits just below your ears. In the end, you shouldn't be able to move the helmet more than an inch in any direction.
Cycling shoes and cleats
When cycling, it is highly beneficial to wear cycling shoes, whether it be with or without cleats. The main problem with cycling in trainers is that they’re far too flexible and this results in your feet constantly having to flex which can result in uncomfortable soreness in your feet. With every pedal stroke some power is lost as your shoe flexes and combined with the soreness you may experience you will begin to lose momentum and speed. Stiff-soled cycling shoes solve all these problems and ensure that the maximum amount of power finds its way from your legs into the pedals and ultimately onto the road.
Cycling with cleats is highly beneficial although not essential. When you cycle without cleats you can only push the pedals down, but when using cleats you also have the ability to pull the pedal up. Cleats will help you if you find your muscles aching, as you will also be pulling the pedals up so you could use 30% less energy and still be traveling at the same speed.
You need to have the knack of wearing cleats, so please ensure you do plenty of training beforehand if you decide to use them. If you are new to using cleats, we would suggest to start out using MTB (mountain bike) cleats as these are the easiest to learn to use. Don’t try and learn to use cleats on the challenge itself.
You will only be riding mountain bikes on this challenge so there is no need to bring road bike cleats.